Install
Tips for Attaching Your Standard Mount
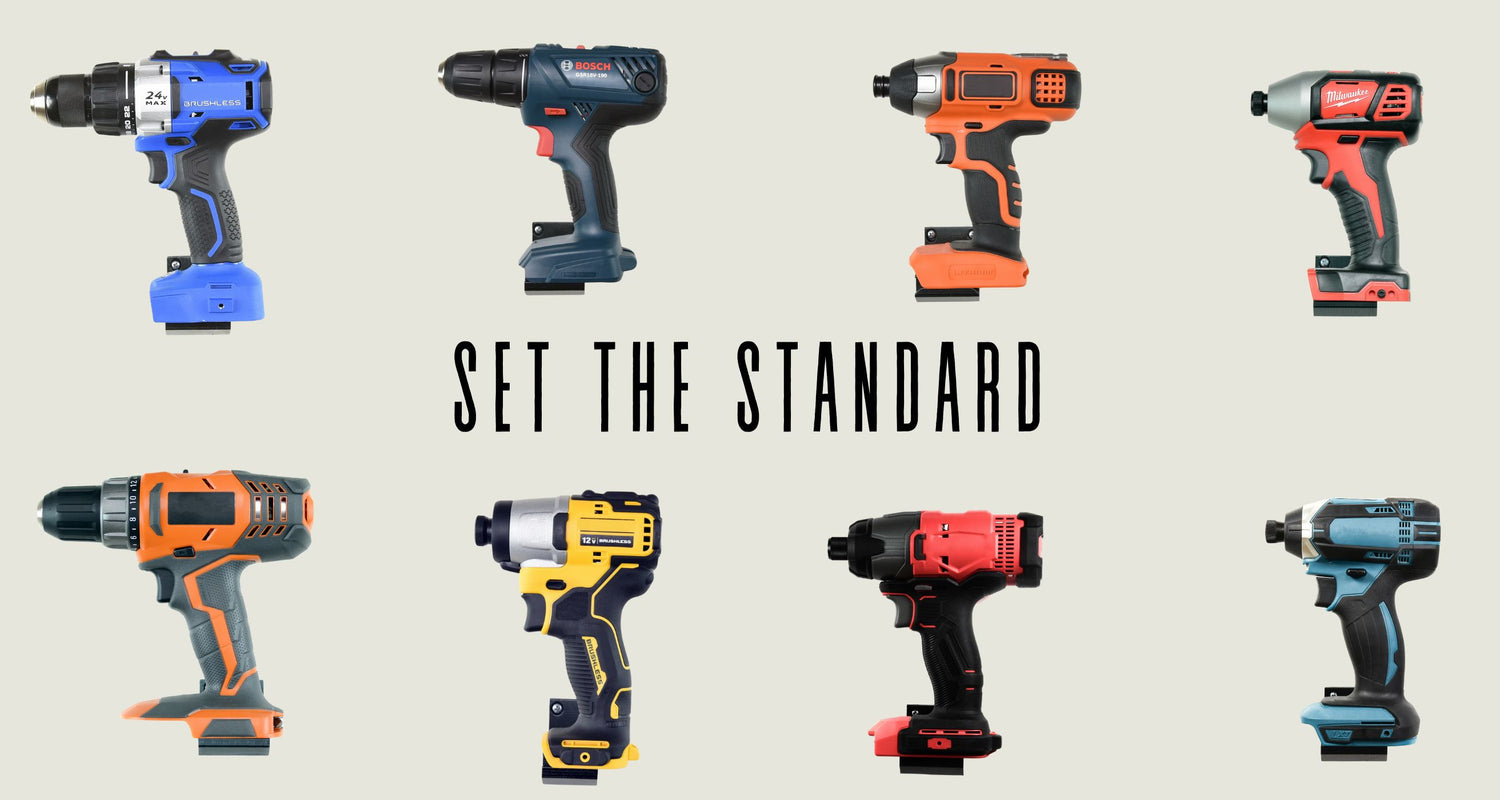
If you’re looking for a reliable and secure way to organize your tools or mount your speakers, Standard Mount Co offers durable, easy-to-install solutions. Whether it’s for your home, garage, or workshop, their custom-fit designs ensure your gear stays neatly arranged and accessible. In this guide, I’ll walk you through how to install a tool or speaker mount in just a few simple steps.
Check out these trending products!
What You’ll Need:
- Your Standard Mount tool or speaker mount
- A Drill, our 1/4" Drill Bit & a 6" Phillips Driver Bit
- Level
- Measuring tape
- Pencil or marker
- Wall anchors (optional, depending on wall type)
- Screws (included with your mount)
Step-by-Step Guide to Installation:
1. Unbox and Inspect Your Mount
Before you begin, unpack the mount and check that all necessary parts are included. Standard Mounts always come with:
- The mount itself
- Screws
- Optional wall anchors for different surfaces
If anything seems missing or damaged, contact us HERE for customer support!
2. Choose Your Location
Decide where you want to mount the bracket. Consider height, accessibility, and proximity to the equipment or tools that will be stored. For speakers, ensure the mount is at an optimal listening height and angle.
Use a stud finder to locate studs behind your wall, which provide the strongest support. If no stud is available, wall anchors are essential for a secure installation.
3. Measure and Mark
Once you’ve chosen your location, it’s time to measure and mark the drill points. Here’s how:
-
For tools: Make sure the mount is positioned at a comfortable height to reach frequently used items.
-
For speakers: Ensure your speakers are placed at an optimal height and spacing for sound quality.
Use a level to make sure the mount will be straight. Then, with your measuring tape, mark the spots where the screws will be drilled. Standard Mounts typically have multiple screw holes, so double-check that each mark is evenly spaced.
4. Drill the Holes
Using your drill, make holes where you marked the spots for screws. If you’re mounting into drywall without studs, you’ll need to install wall anchors to ensure the mount stays secure.
Tip: Be sure to use the appropriate drill bit size based on the screws and wall anchors you’re using.
5. Install the Mount
Now, it’s time to attach the mount to the wall:
- Align the mount with the holes you drilled.
- Insert the screws into the holes and tighten them using a screwdriver.
- If you're using wall anchors, make sure they’re securely in place before screwing in the mount.
Tip: Don’t over-tighten the screws, as this could damage the mount or wall.
6. Check the Mount’s Stability
After securing the mount, check to make sure it’s stable and level. Give it a slight tug to ensure it’s firmly attached to the wall. For speaker mounts, ensure the angle adjustment works smoothly (if applicable).
7. Mount Your Tools or Speakers
Now that your mount is installed, it's time to organize your tools or attach your speakers:
-
For tools: Hang or place the tools on the mount, making sure they fit snugly in the designated slots.
-
For speakers: Attach the speaker to the mount per the manufacturer's instructions. Ensure all wiring is correctly positioned to avoid interference with the mount.
8. Enjoy Your Organized Space or Enhanced Audio
With the installation complete, step back and admire your handiwork! Your tools are now neatly organized and easily accessible, or your speakers are optimally positioned for sound clarity.
Installing your Standard Mount is a straightforward process that takes only a few minutes but makes a big impact. With your mount in place, you’ll enjoy a more organized space or enhanced audio experience. Follow these steps, and you’ll have a sleek, secure mount that helps make your space more functional and stylish.
